Taking the Sting Out of Fingersticks: Lancets, Life Hacks and More

By Marcia Kadanoff with Katie Bowles
Tips to reduce the pain and hassle of pricking your finger each time you check your blood sugar levels on a meter
When I was first diagnosed with type 2 diabetes two years ago, I struggled quite a bit. I had to change my diet and reconsider my exercise regimen, and I was suddenly made aware of data that had never existed in my world before – A1C and blood sugar numbers swirled around in a confusing mix that I not only had to track, but also keep on target. It seemed impossible.
For me, the hardest of these was learning to check my blood sugar. What do the numbers mean? How can I force blood to come out of my fingers when it seems like there isn’t any left? I have to do this how many times a day?!
These days, I’m incredibly lucky to use a continuous glucose monitor (CGM) that helps me avoid those painful, frustrating fingersticks (both the Abbott FreeStyle Libre and Dexcom G6 eliminate the need for daily fingersticks). However, plenty of people with diabetes don’t have access to a CGM, don’t want something on their body, or aren’t aware of this technology. This article is for you.
Question 1: Does checking your blood sugar have to hurt?
After receiving a type 2 diagnosis, I assumed that finger prick pain just had to be a part of my life – I couldn’t possibly avoid it if I was regularly checking my blood sugar, right?
Wrong.
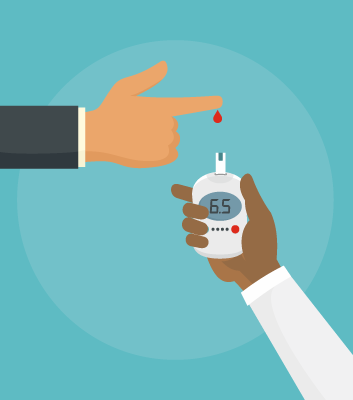 While nothing completely takes away the sting, you can take measures to reduce pain and make it much more bearable. I’ve found that pricking the sides of my finger pads (instead of the pads themselves) helps greatly. Additionally, not using an alcohol wipe to prep my finger also helped with sensitivity for me. Alcohol dries out and tightens the skin (alcohol is an astringent), making it harder for the lancet to poke through the skin. Of course, you must make sure your hands are washed before a fingerstick; otherwise you could have a false high blood sugar. When I can’t wash my hands, at minimum I wipe away the initial (first) drop and place a second drop on the strip.
Another hack that many people with diabetes use is to not change your lancet after every fingerstick. Notably, experts have found that this hack – while it can reduce costs – may increase pain because the tip gets blunted, which may increase the risk of infection and therefore is not recommended.
Question 2: Am I doing this right?
When you’re diagnosed, your healthcare provider might show you how to check your blood sugar. However, this isn’t guaranteed. I was diagnosed during routine bloodwork and unfortunately wasn’t taught how to check my blood sugar during the diagnosis. Even if you’re lucky enough to receive this information, there’s a pretty good chance that you won’t remember everything your doctor tells you. The diagnosis can be overwhelming and filled with information, much of which is overshadowed by the scary thought of “I have diabetes.” I definitely didn’t remember everything when I walked out after being diagnosed.
Between myself and my daughter, we could not figure out how to use a coded blood glucose meter (an older type of glucose meter – I recommend avoiding these). I found the process counterintuitive and often used it incorrectly, resulting in multiple painful finger pricks and a lot of frustration. Perhaps I’m unusually bad at figuring out fiddly strips and devices, but I – like many type 2s – got zero education on this topic. It was almost comical how long it took us to learn that I had to bring the strip sideways to the drop of blood on my finger instead of trying to “dab” my blood on the top of the strip! I found videos like this one were very helpful (and plentiful):
I eventually found a simpler meter from One Drop (a nearly identical model is offered through Amazon Choice), which worked better because it was just put in the strip and push a button for the reading (until I got on CGM). This worked particularly well for me because I wasn’t using my insurance (due to a high-deductible plan), but I could subscribe without insurance for an affordable monthly cost.
And, check out our article on “How to Get More Strips on a Budget”
Question 3: I’ve successfully checked my blood sugar. Now what?
Senior editor Adam Brown is fond of saying, “Blood sugars are not tests.” Sure, you’ll always have a goal in mind – mine is 70-140 mg/dl – but if you “fail,” there will be plenty of opportunities to try again. That’s where the data from your readings comes in.
For example: This morning, I woke up and checked my levels before eating breakfast and received a reading of 140 mg/dl. This isn’t high for a lot of people, but (based on my past data and the hard work I’ve put in since being diagnosed) it is for me – my typical blood sugar ranges from 80 to 100 mg/dl. (I’m only on metformin.) With a reading of 140 mg/dl, I felt I needed to take action.
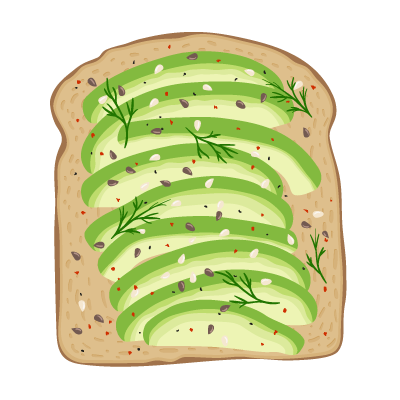
For me, this action is having a low-carb breakfast. To make things easier (particularly before I’ve had my coffee), I stick to a regular rotation of breakfasts:
Nonfat yogurt with a small amount of dark chocolate for flavoring*
- 1 slice of whole wheat sprouted toast with natural/low sugar peanut butter
- 1 slice of whole wheat sprouted toast with avocado
- 1 slice of quiche – without the crust – plus bacon
- 1-2 chicken sausages*
- 2 eggs plus bacon*
The breakfasts marked with an asterisk are lower carb, and I know how my body will respond to them after checking my blood sugar again an hour after eating.
Thanks to this data, I’ve also learned that drinking a big glass of water and walking after breakfast will cause my blood sugar to drop. Again, keep in mind that everyone’s body is different – what works for me may not work for you, but using your data is the only way to know for sure.
As a perfectionist, I also had to learn that there is no “perfect score” when it comes to blood sugar. It’s not a test. My goal is to keep it within a certain range for as much of the day as possible. For me, that range is 70 to 140 mg/dl (4-8 mmol/l), but for someone else, it could be 80 to 150 mg/dl, and so on. Just like choosing lancets, it’s best to listen to your body (this time via the data in your reading).
Question 4: I tried to check my blood sugar and couldn’t get any blood out of my fingers. What should I do?
 Even after learning ways to lessen the pain and finding a meter/lancets that worked for me, I still occasionally struggled to get blood out of my fingers in the mornings – my cold hands just wouldn’t cooperate. On top of the temperature, I also have diabetic neuropathy in my hands and feet.
After many frustrating mornings, I began following the recommended procedure below, and it made a world of difference:
- Wash your hands in warm water. This removes any food residuals if you’re testing post-meal, and the temperature encourages blood flow.
- Rather than towel-drying, dry your hands by dropping them by your hips, pointing at the floor and flapping them around (think Phoebe’s running style on Friends). You’ll feel ridiculous, but this method really helps the blood flow. If your hands aren’t completely dry at this point, use a towel, as wet hands can result in a falsely low reading.
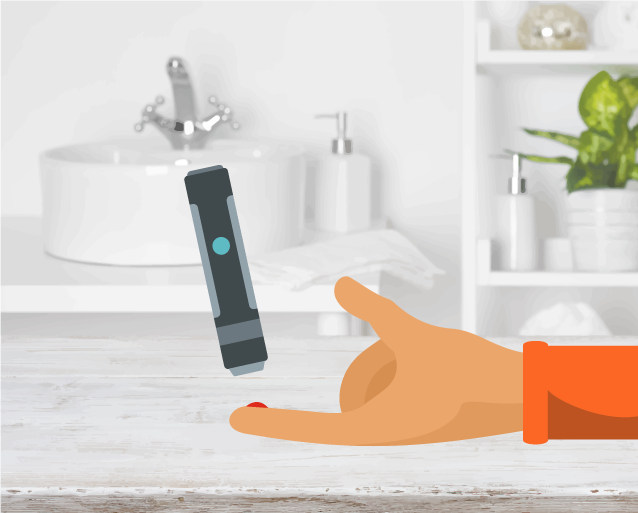
- Once your hands are warm and dry, use the lancet on the side of your “favorite” finger. This may be mostly mental, but when it’s early morning and my hands are cold, using a tried-and-true finger (left little finger, for me) really helps.
One additional tip from Virginia Valentine, a certified diabetes educator (CDE) with type 2 diabetes on diaTribe’s advisory board:
“I have found many patients complaining of pain and then I notice their lancing device is dialed up to “stun.” I dial it down to 2 or 3 and they are totally skeptical but here is the trick: Press the lancing device really firmly against the side of the finger before you hit the button. When you take the lancing device away from your finger you may think “nothing happened” but then when you squeeze from the base of the finger you will get a good size drop of blood.”
Question 5: Which lancet/lancing device should I use?
Lancets and lancing devices are not one-size-fits-all. And while the abundance of options is great, it can also be overwhelming. To find the right pairing for you, it’s best to consider your priorities. Do you want the least amount of pain (smallest needle)? Do you need something large that’s easy to grip? Do you want a bigger needle gauge that’s more likely to work on the first try? If you have particular issues such as tendonitis, talk to a CDE for recommendations.
For me, convenience was a priority, so I chose the Accu-Chek FastClix – it’s got a drum feature which means I don’t have to bring lancets with me when I travel which I always seem to forget.
Other popular lancing devices include LifeScan’s OneTouch Delica, a smaller device that offers two sizes of lancets, and the FreeStyle Lancing Device, which provides multiple depth settings. Playing around with lancet size and depth can help with pain.
Finally, if accuracy is more of an issue than pain, you can try the TrueDraw, a larger device that’s easier to hold.
Once you’ve determined your priorities and which devices you want to try (no shame in trying multiple, if you have the means), make sure you’re buying the correct equipment. Some lancing devices require their own lancets, while others work with multiple brands – you can find this information on the product website.
Additionally, make sure you don’t overpay for lancets and lancing devices. Most can be purchased on the product website or in pharmacies, but you can also generally find them on Amazon (often along with helpful reviews). Doing a little research can save a lot of money! Keep an eye out for coupons, and if you have health insurance, always check with your provider to see what (if anything) is covered.
Question 6: What about strips?
When it comes to strips, more is more – many brands now offer device/supply bundles that include an unlimited supply of strips. One example is the One Drop subscription ($49.95/month, no insurance required), which I used. This monthly subscription includes a meter, unlimited test strips (you can request more at any time) and diabetes coaching, which is very handy for people new to diabetes management.
Another similar unlimited strip option is the mySugr bundle ($49/month, no insurance required). This package also includes a meter (the Roche Accu-Chek) and diabetes coaching, and adds access to the mySugr Pro app, which syncs with the meter to provide assistance with nearly every aspect of management.
If you aren’t looking for an unlimited supply, Amazon also has a line of affordable-ish test strips, coming in at $10.99 for 50 strips ($0.22/strip), $18.50 for 100 strips ($0.19/strip), or $34.05 for 200 strips ($0.17/strip) that are compatible with the Choice Wireless BGM ($23).
Both of these packages come with highly rated meters, per the Diabetes Technology Society’s recent Blood Glucose Monitor System (BGMS) Surveillance Program. The meter included in the One Drop subscription is the same as the CVS Advanced from Agamatrix, which received a score of 97%, and the Roche Accu-Chek came in at 95%. If you’re considering other meters, it’s wise to check out the results of this study – an accurate meter makes a world of difference in blood sugar stability.
The takeaway from all of this? Blood sugar monitoring will probably never be fun – but it also shouldn’t ruin your day, and is an important part of self care for people with diabetes.